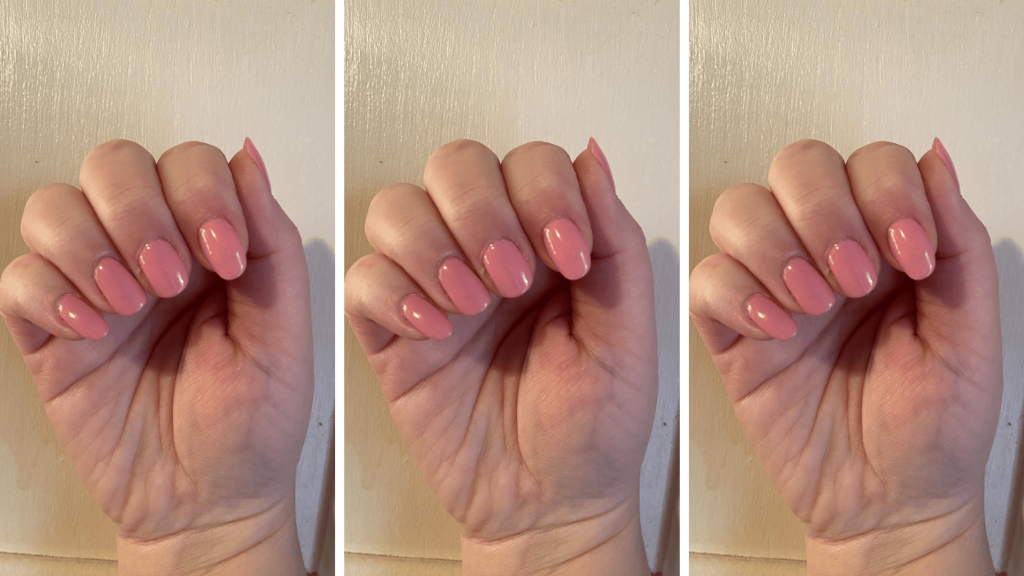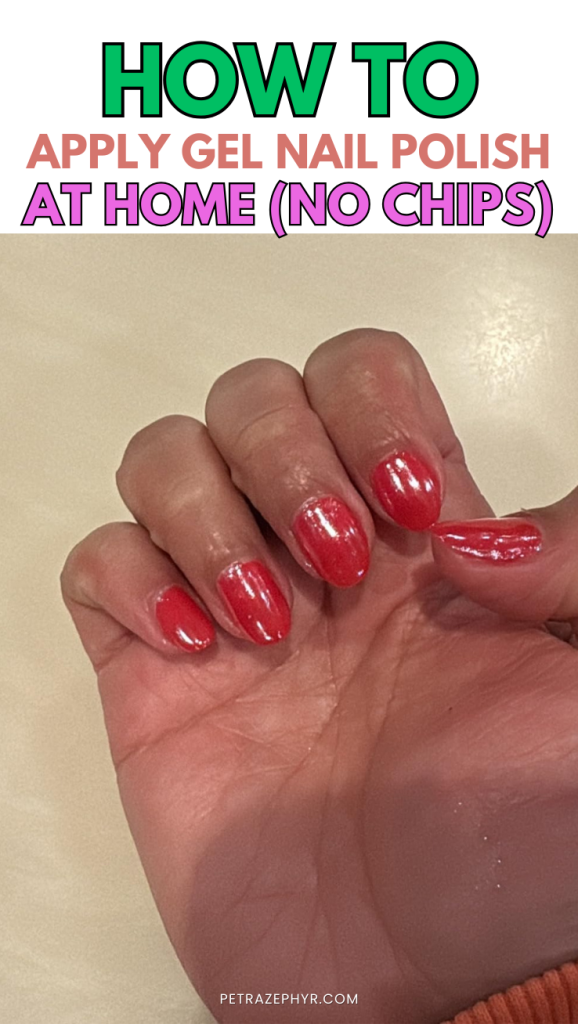
Do you want to learn effective ways to apply gel nail polish at home?
Most people would think using gel polish at home is hard, but it is way easier than they think.
If you know you are ready to put in the effort needed to get your gel nail polish done just like a salon job, then you are ready for the steps I am about to give you in this guide.
Two of the best things about being able to get your gel nail polish done are there is no cost attached to it and no stress of visiting the salon.
To have the gel-based polish locked properly into your nails you would need LED or UV light to cure the polish.
This takes away the mess that is found in regular polish, and it makes it last longer, which results in “no chip for weeks”.
There are a couple of things to know when applying gel polish that is important to get that perfect manicure from the comfort of your home, especially if it’s the first time you’re doing it.
How To Apply Gel Nail Polish At Home (No Chips For Weeks!)

1. Wash and Dry Your Hands Properly
Speaking from experience, the first thing you need to do when you want to apply gel polish on your nails is to wash your hands and dry them properly before doing anything else.
Make sure there’s not a single drop of water left on your hands.
This is very important to the whole process, and you will find out why as you read on.
2. Apply Sunscreen On Your Hands
This is important to do before following the other steps below, apply the sunscreen on your hands and let it sit for 15 to 20 minutes.
Make sure the sunscreen doesn’t get on your nails, for a different approach, you can also put on anti-UV gloves.
3. Get a Nail File
You have to have a nail file ready for the whole process to work.
Make use of the fine 180 grit side of the nail file to file your nails to the exact shape you want them to be, and make sure that the edges of each nail are smooth enough.
Push back your cuticles gently using the curved side of the nail file.
Read: 10 Best Nail Drills For Beginners & How To Use Them
This is important because it gives your nails a clean surface for the gel polish to stick on, it also helps to create longer nails that match evenly.
4. Make Use of Gel Nail Polish Remover
To remove oils and dust from your nails, apply gel nail polish remover that is lint-free.
Use it to properly clean the surface of your nails and the area under your nails as well.
It dehydrates the nail bed and gives a fresh surface for the base coat to be applied.
5. Apply Base Coat
The next step is to apply a thin coat of base coat to your nails.
You need to leave a small gap between your cuticle and the gel nail polish when applying the base coat; try your best to avoid any gel nail polish getting on your skin or cuticle.
If this manages to happen, then you need to use the “nail polish remover pen” or an “orangewood cuticle stick” to remove it immediately, do this before you cure.
Curing should be for 60 seconds with the LED or UV gel nail lamp.
6. Apply Color Coat
When applying the color coat, you need to apply at least 2 to 3 coats of color coat and make sure you cap the free edge.
After every coat, be sure to cure for 60 seconds at least with the LED or UV gel nail lamp.
It is important for your base coat and color coat to remain a bit sticky after curing, this is so the application of the layers that follow would stick nicely to the layer underneath.
7. Apply Top Coat
When applying the top coat you should apply a thin coat of it.
I recommend “Rubber Top Coat” for nail art and chrome powder, then cap the free edge and cure for 60 seconds with an LED or UV gel nail lamp.
After the last and final cure, your gel nail polish should be hard and smooth.
8. Apply Cuticle Oil
This is the final step in the application of gel polish, apply cuticle oil (Where to get it) all around your nails then rub it into your skin for a moisturizing and nourishing effect.
And that is the end of it, with all these steps listed above, you will have completed your gel nail polish application, which will give you a professional-like and lasting set of gel nails that will have no chips for weeks to come.
Conclusion
Some other things to note when applying gel polish yourself from home is to make sure you use the same products for the base coat, color coat, top coat, and gel nail lamp, this makes sure everything is okay.
Now with everything listed above it should be obvious to you that applying gel polish yourself is way easier than most people thin.
And you can do such a wonderful job even on your first trial with the right process that it would look just as good as that of a professional manicurist.
So follow the procedures on the list properly and watch your next nail polish come out as beautiful as the last one you had done at the salon.
And the best part is you can save your money as there is no cost attached to it, and no stress of having to leave your home for the salon, and most importantly “NO CHIPS FOR WEEKS!”.
More posts you’ll love🩷:
10 Best Press-On Nails That Look Like Salon Acrylics
DIY Nail Care Routine For Healthier Stronger Nails
The Best Nail Growth Products That I Have Tried That Actually Work
Pingback: Acrylic Vs. Gel Nails: Which One Is Right for You? - Petra Zephyr
Pingback: DIY Nail Care Routine For Healthier Stronger Nails - Petra Zephyr